PolkaGate: How to Stake Your DOT Print
Modified on: Mon, 26 Jan, 2026 at 5:39 PM
This article remains available for reference but is no longer updated or maintained.
Please use the information at your own discretion and risk.
For more details, refer to the official annoucenment.
PolkaGate is a Polkadot wallet developed and maintained by PolkaGate Foundation. It is an open-source browser extension available for Mozilla Firefox and Chromium-based browsers, funded by the Kusama Treasury. PolkaGate is compatible with many DApps and tools in the ecosystem.
ℹ️ GOOD TO KNOW

If you have any questions about PolkaGate, or run into any issues and require further assistance, feel free to ask our AI chatbot or contact us.

Alternatively, you can contact the PolkaGate team directly and receive specialised assistance from the team that developed the wallet. You can contact PolkaGate support on Element or at polkagate@outlook.com
In this article, we'll show how to stake your DOT or another supported token in PolkaGate.
‼️ IMPORTANT

There is a dynamic minimum amount required to earn rewards. If you don't have enough DOT to stake solo, consider joining a nomination pool instead.
TABLE OF CONTENTS
- How to start staking DOT
- How to add more DOT to your stake
- How to change your nominations
- How to change your staking rewards destination
- How to unbond your DOT
- How to rebond your DOT
- How to claim staking rewards manually
How to start staking DOT
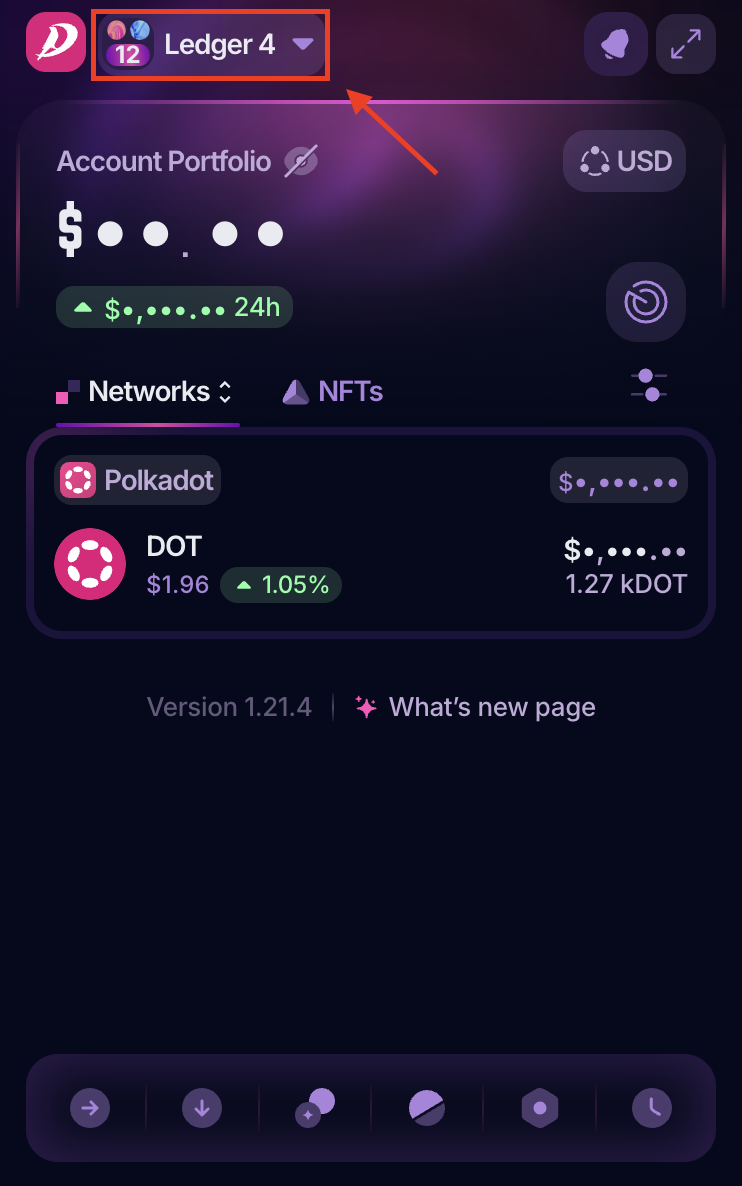
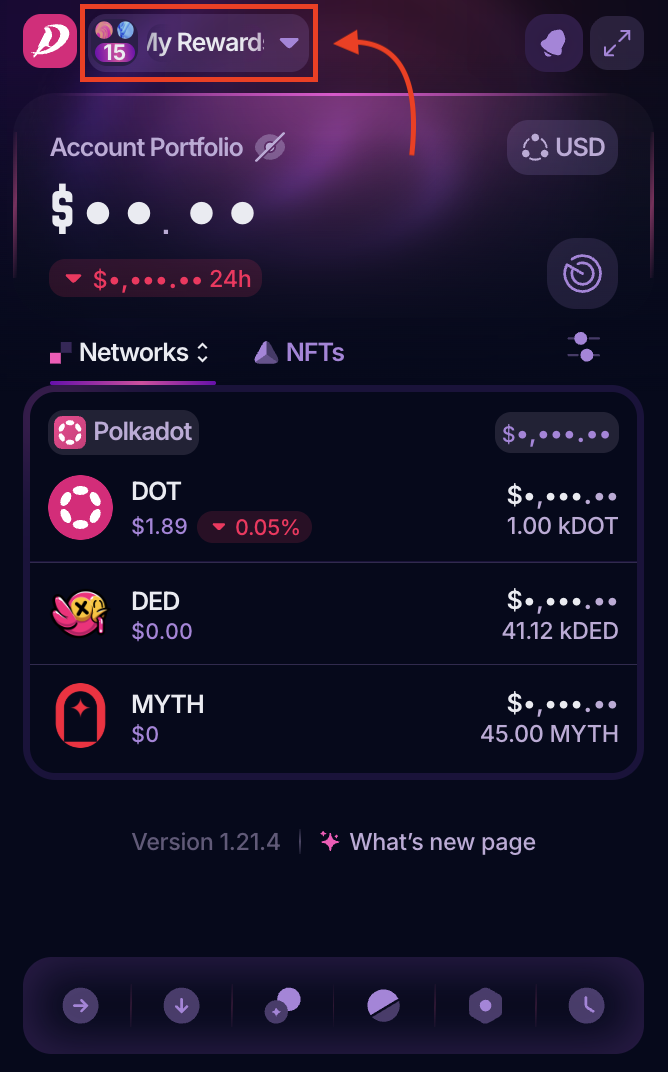
1. Open your PolkaGate extension and in the drop-down menu, select the account on which you want to stake your DOT:
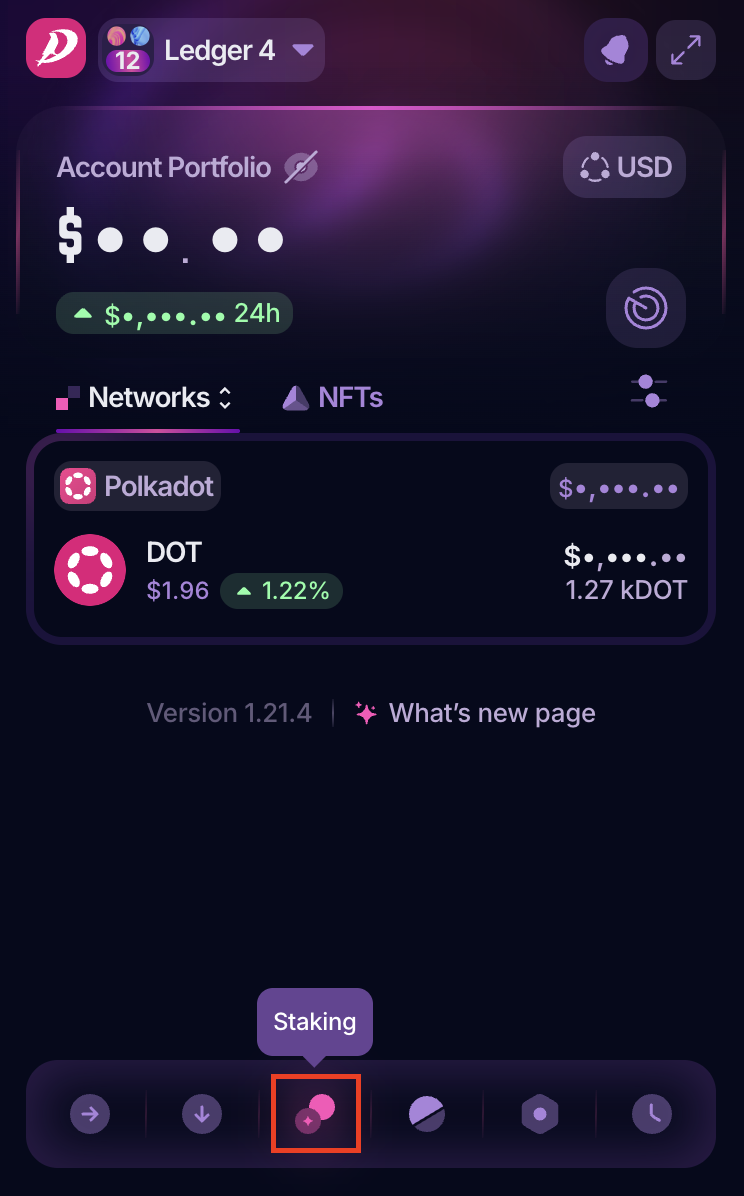
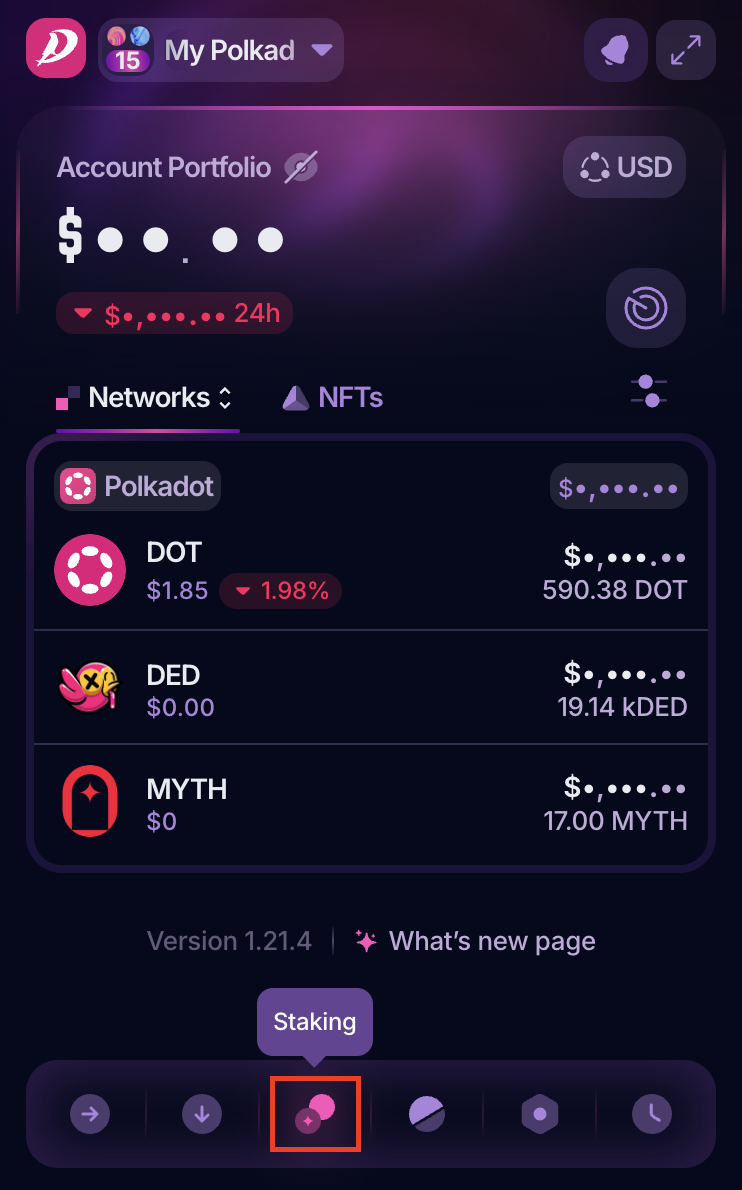
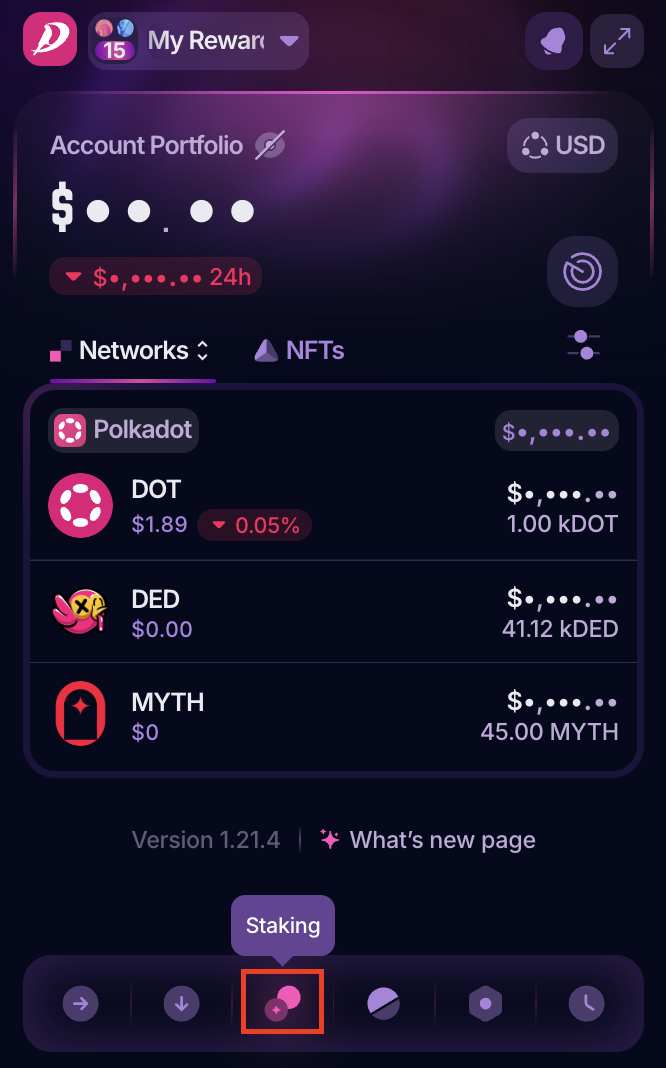
2. Once you've selected the account, click on the "Staking" button:
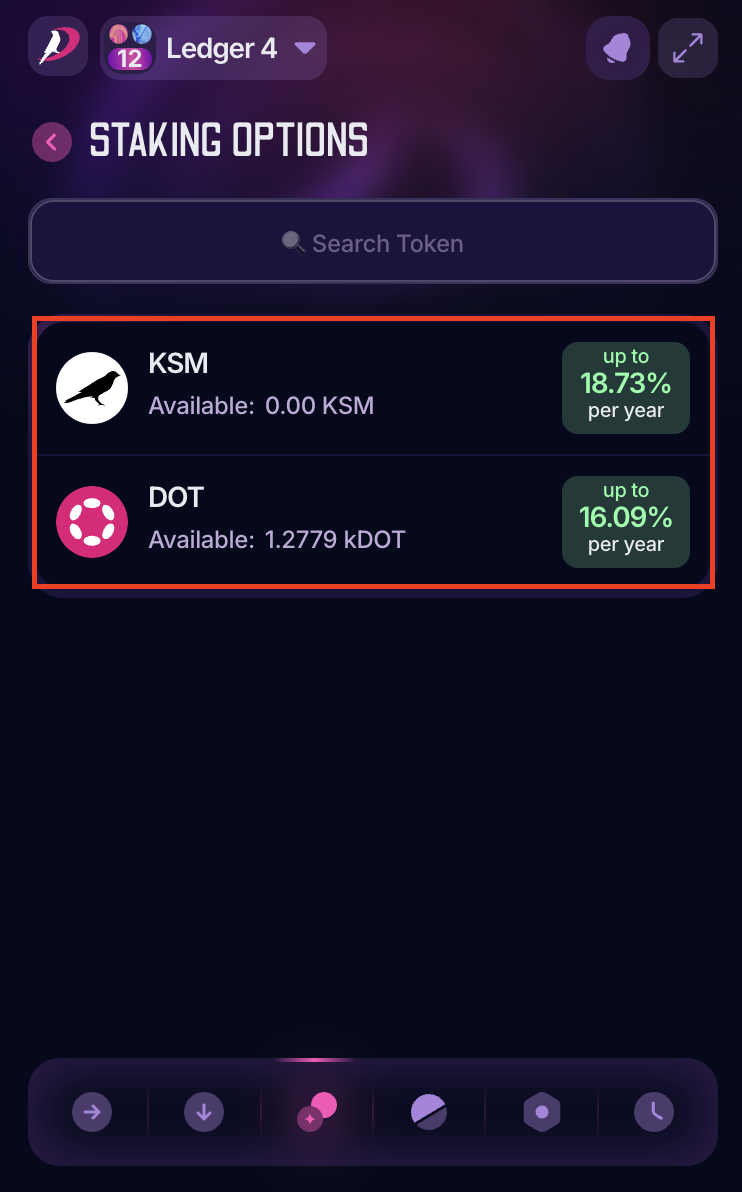
3. Select the token you want to stake. In this article, we use DOT:
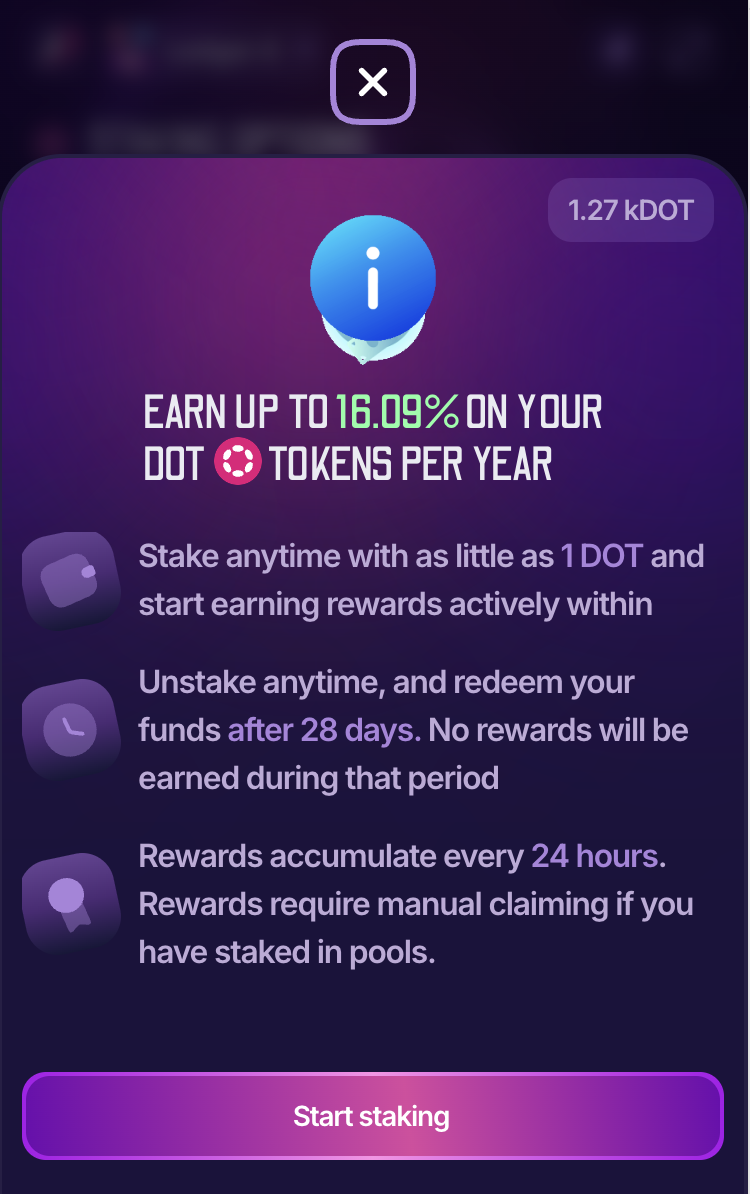
4. Read the information, and click "Start staking":
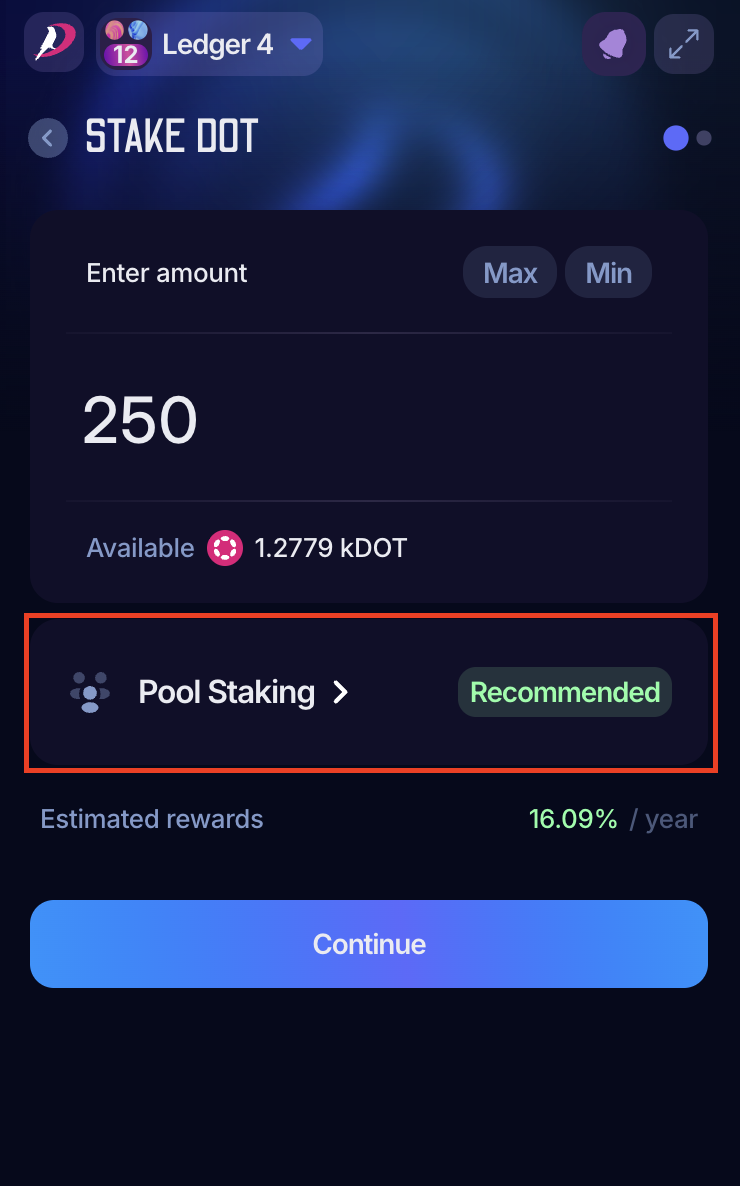
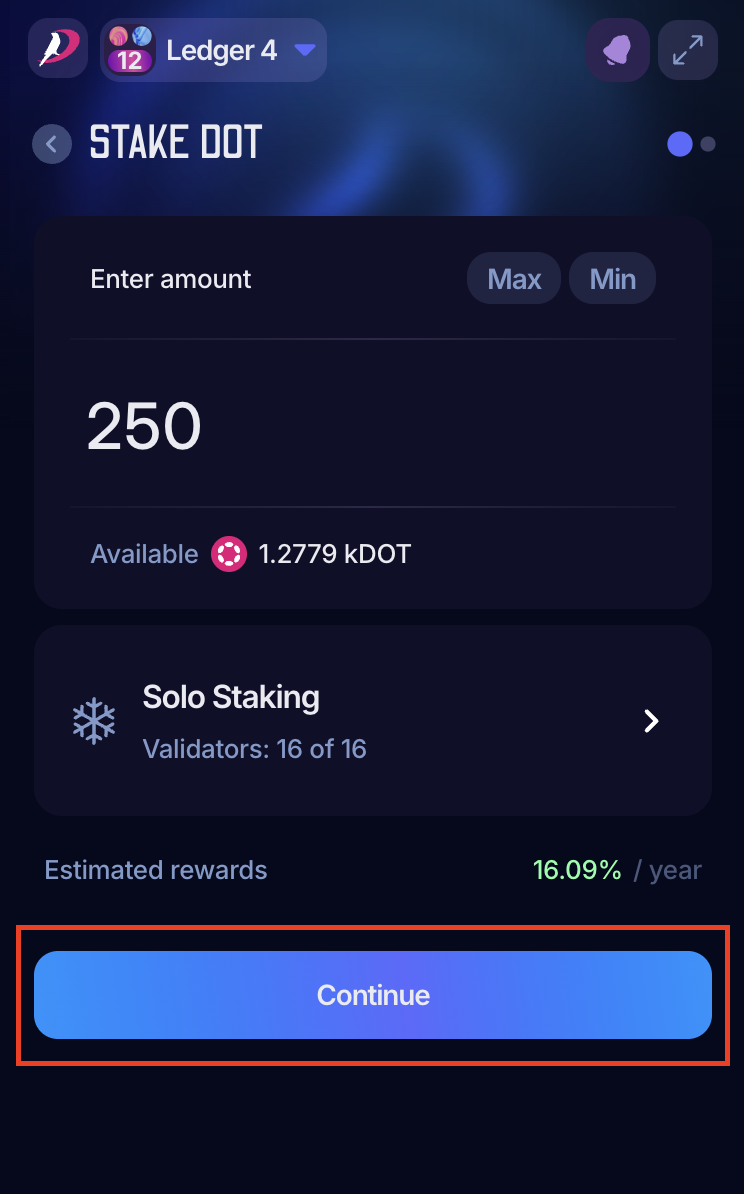
5. Enter the amount you want to stake, and click "Pool Staking" to select the method to stake your DOT:
⚠️ ATTENTION

Do not bond all your funds! You need some transferable funds to be able to pay transaction fees. Otherwise, you may not be able to change your nominations, unbond, or issue any other extrinsic until you have more transferable funds in your account.
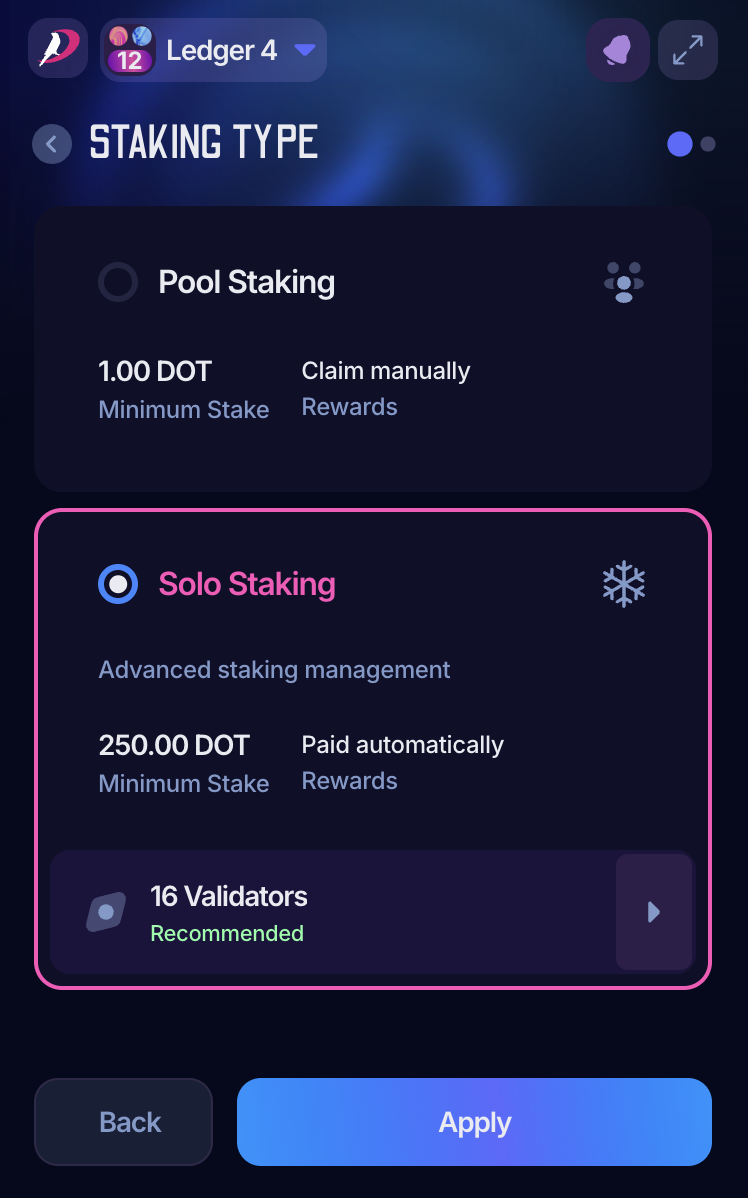
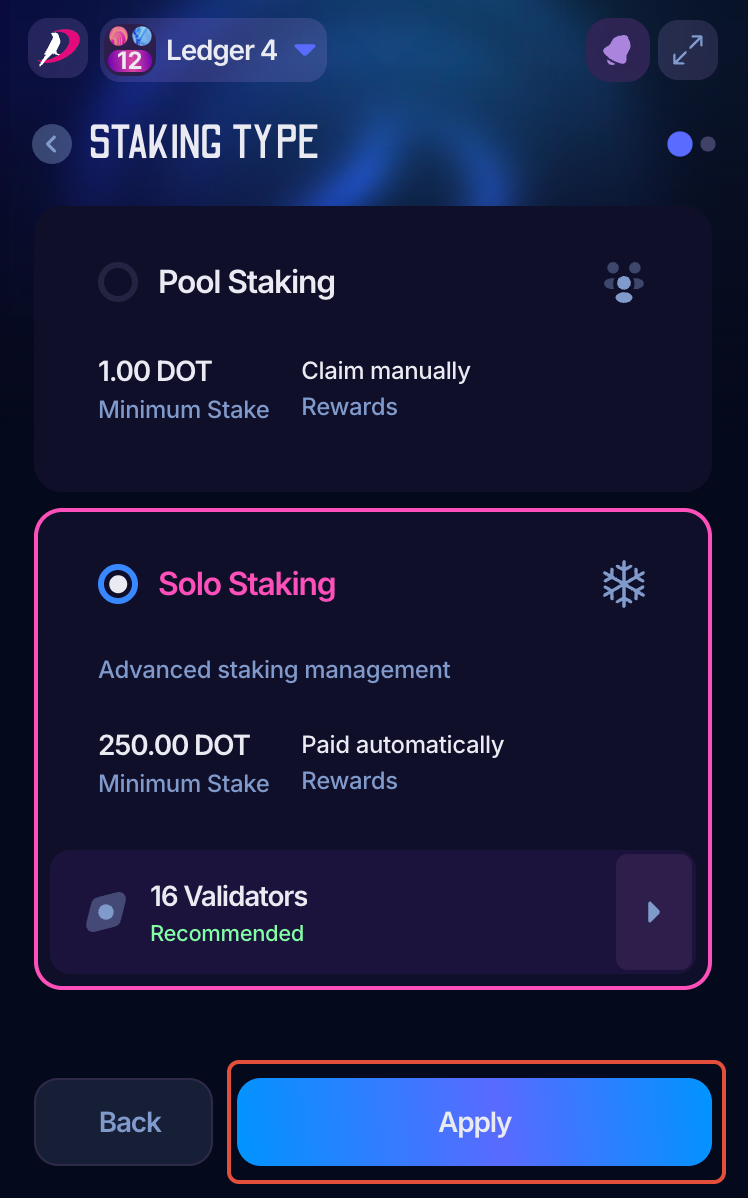
6. On the next screen, select "Solo Staking". PolkaGate offers you recommended validators; however, you can change them by clicking on the validators option:
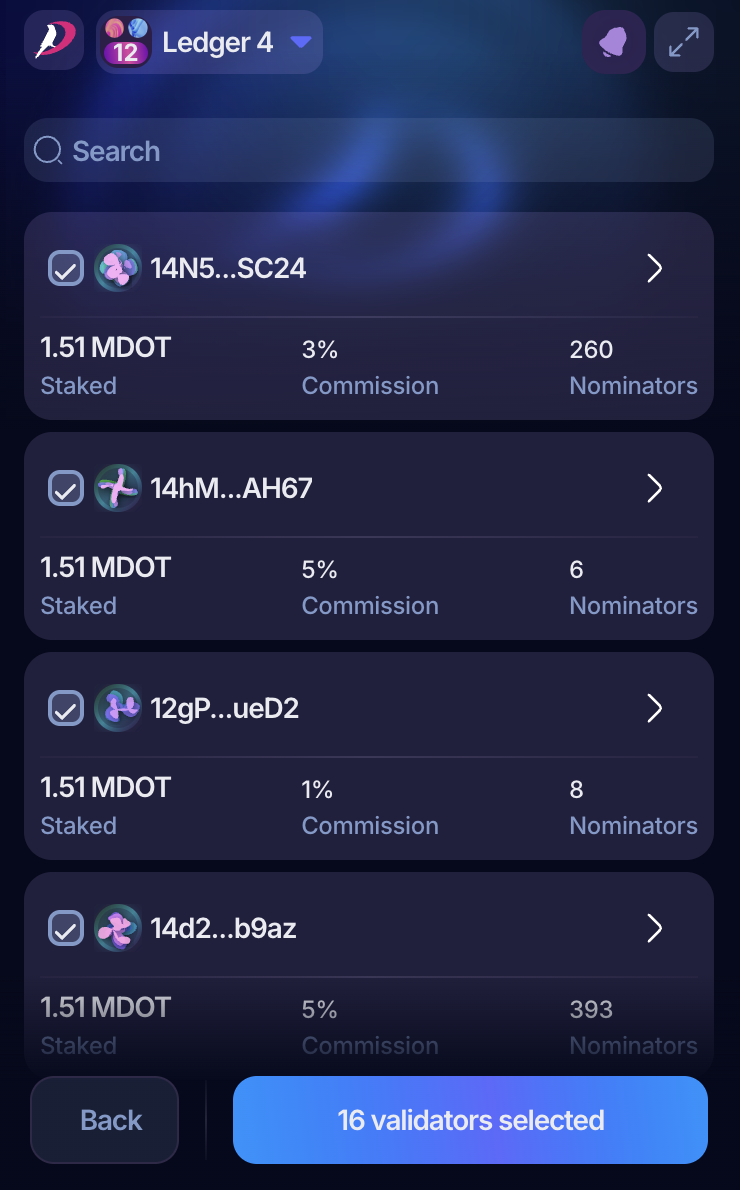
7. Now you are able to select your preferred validators. Enter their public address in the search bar, or look for them in the list. If you don't know what validators to choose, check this article. Once the 16 validators are selected, click "16 validators selected":
8. Once the validators have been successfully selected, click "Apply" to confirm your selection:
9. Once you've chosen your validators, click "Continue" to see the transaction details and confirm. You are all set! You should see your first active validator in the next era, and receive your first staking reward after it ends:
How to add more DOT to your stake
1. Open your PolkaGate extension and in the drop-down menu, select the account on which you want to bond more DOT to your staking:

2. Once you've selected the account, click on the "Staking" button:

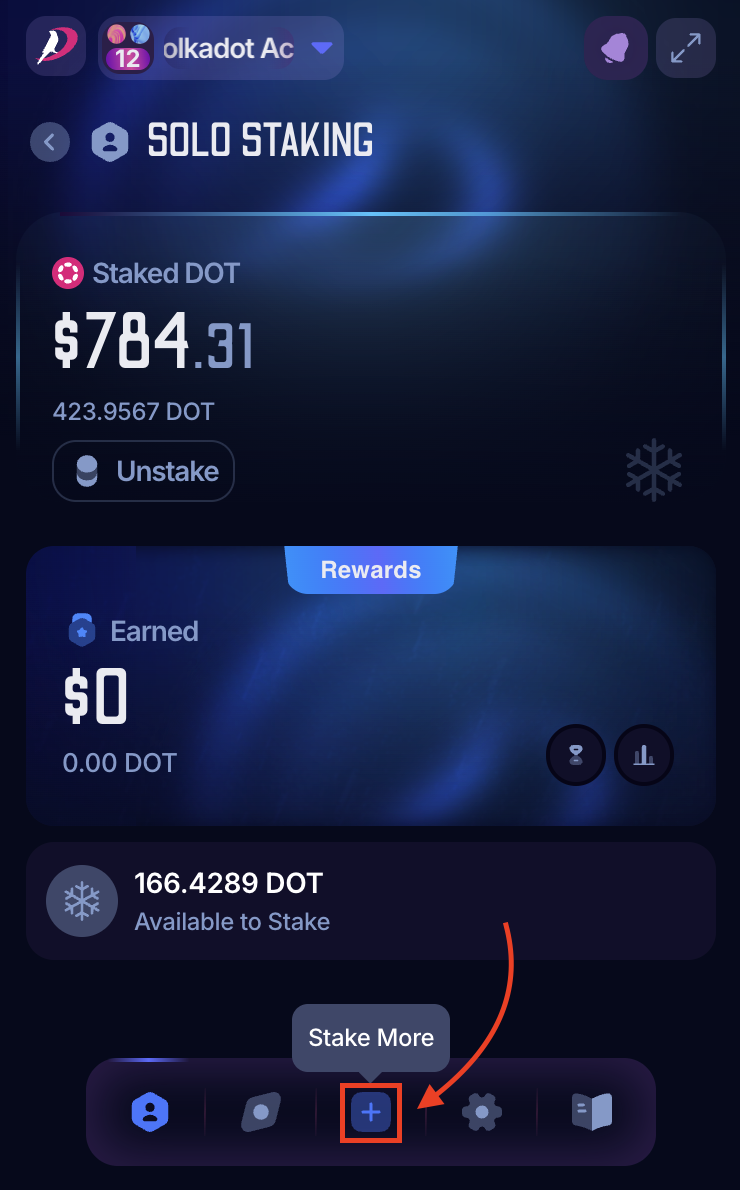
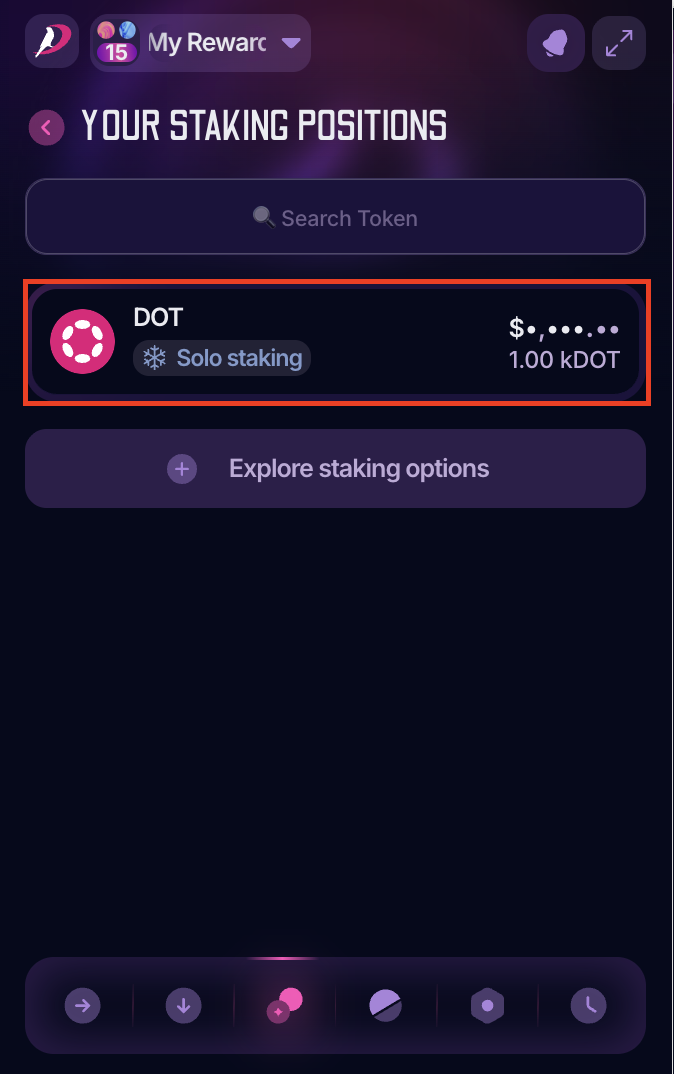
3. Now, you'll see your staking position for this account. Click on it to view additional options:

4. Click on the "+" icon, to bond more DOT to your staking:
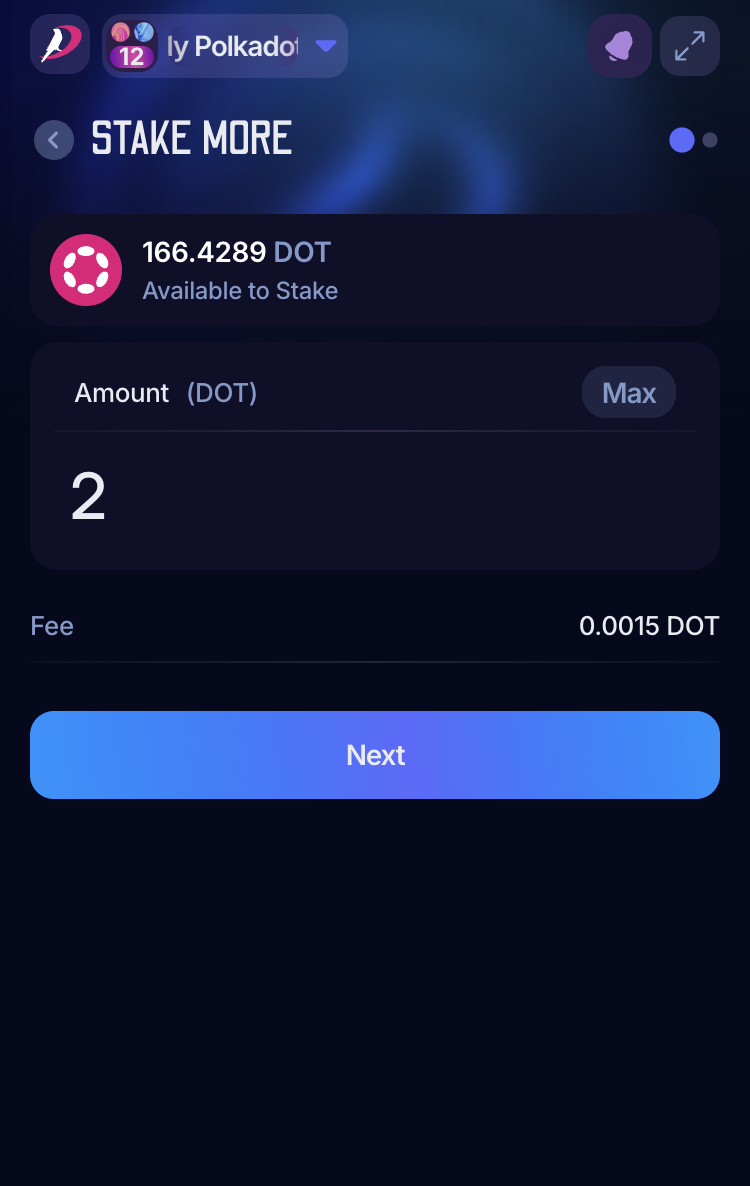
5. Enter the amount you want to add to your stake, or click "Max" if you want to add the maximum available balance:
⚠️ ATTENTION

Do not bond all your funds! You need some transferable funds to be able to pay transaction fees. Otherwise, you may not be able to change your nominations, unbond, or issue any other extrinsic until you have more transferable funds in your account.
6. Click "Next", review the details, and sign the transaction to bond more DOT to your stake.
How to change your nominations
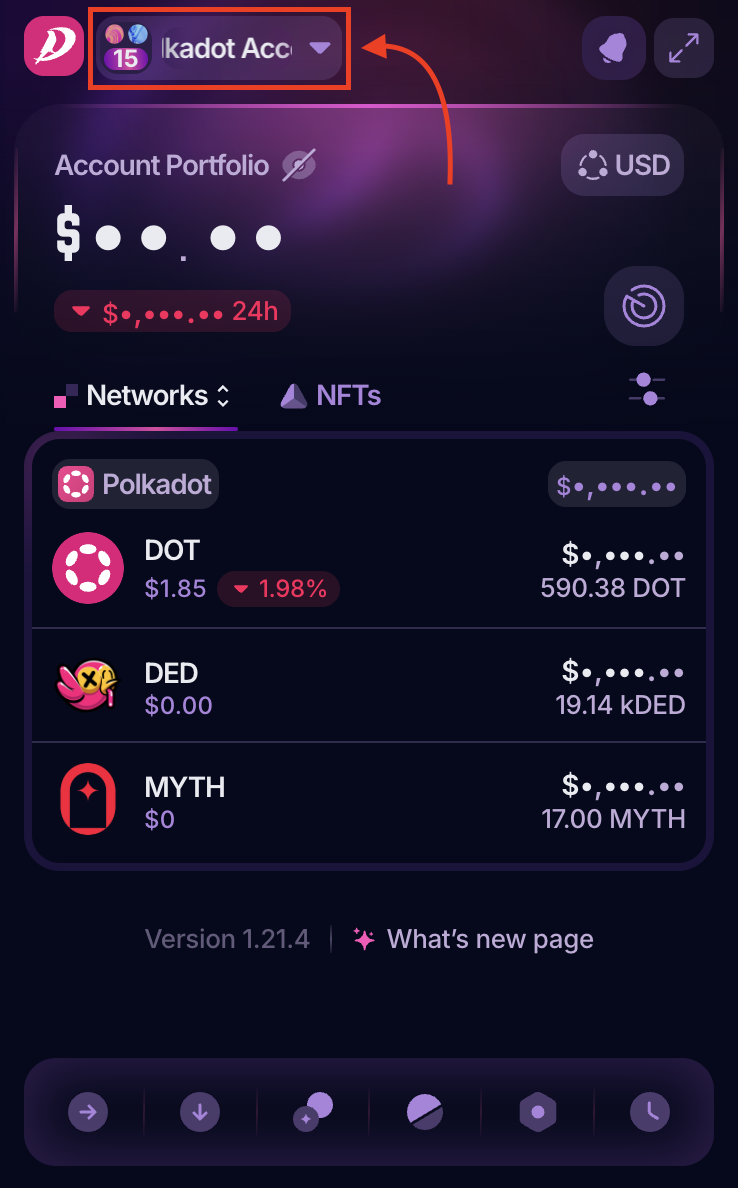
1. Open your PolkaGate extension and in the drop-down menu, select the account on which you want to change your nominated validators:

2. Once you've selected the account, click on the "Staking" button:

3. Now, you'll see your staking position for this account. Click on it to view additional options:

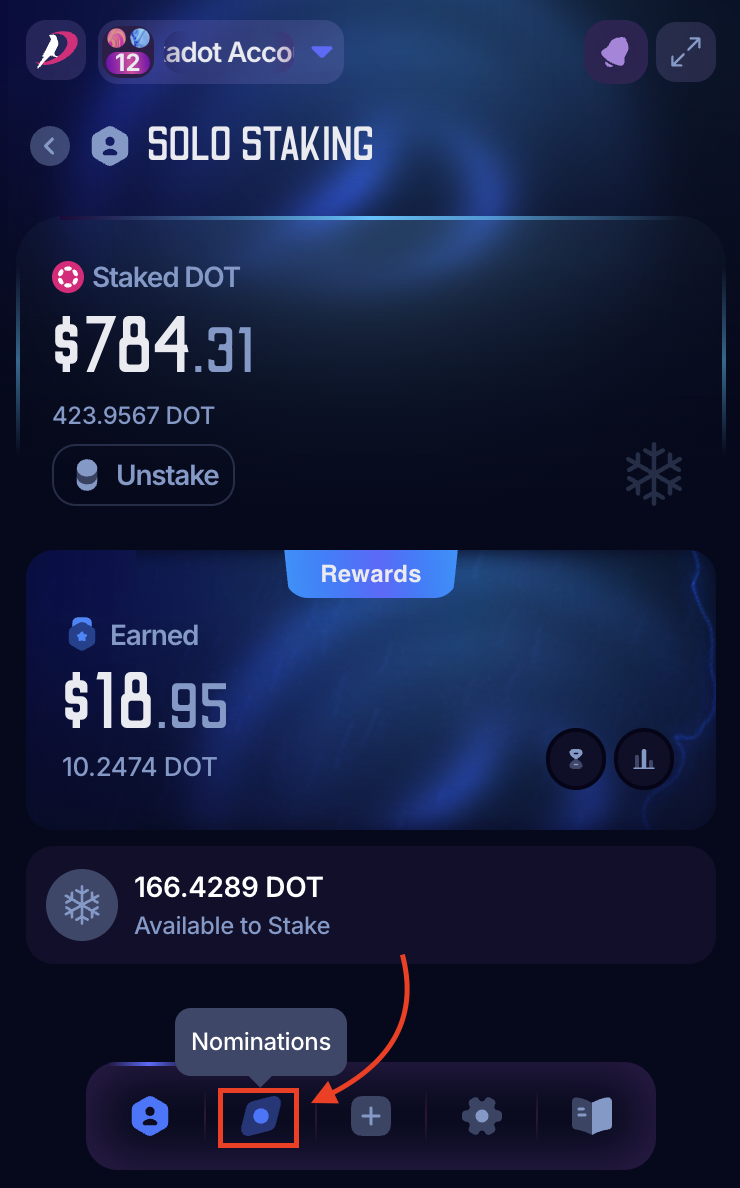
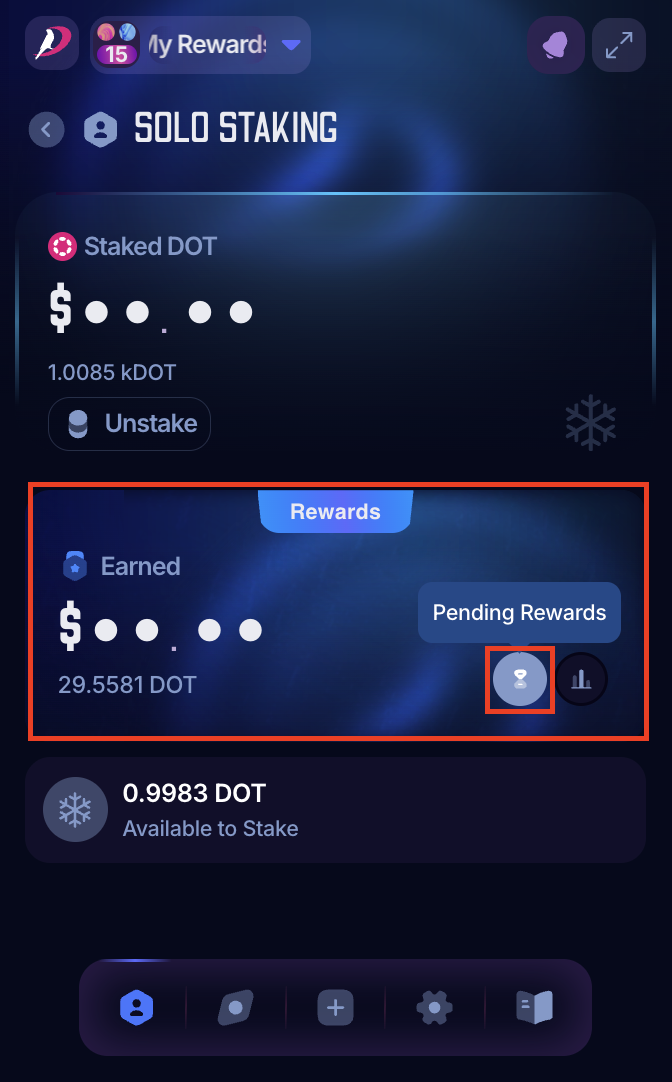
4. Now, you can see your staking status. Click "Nominations" at the bottom of the screen:
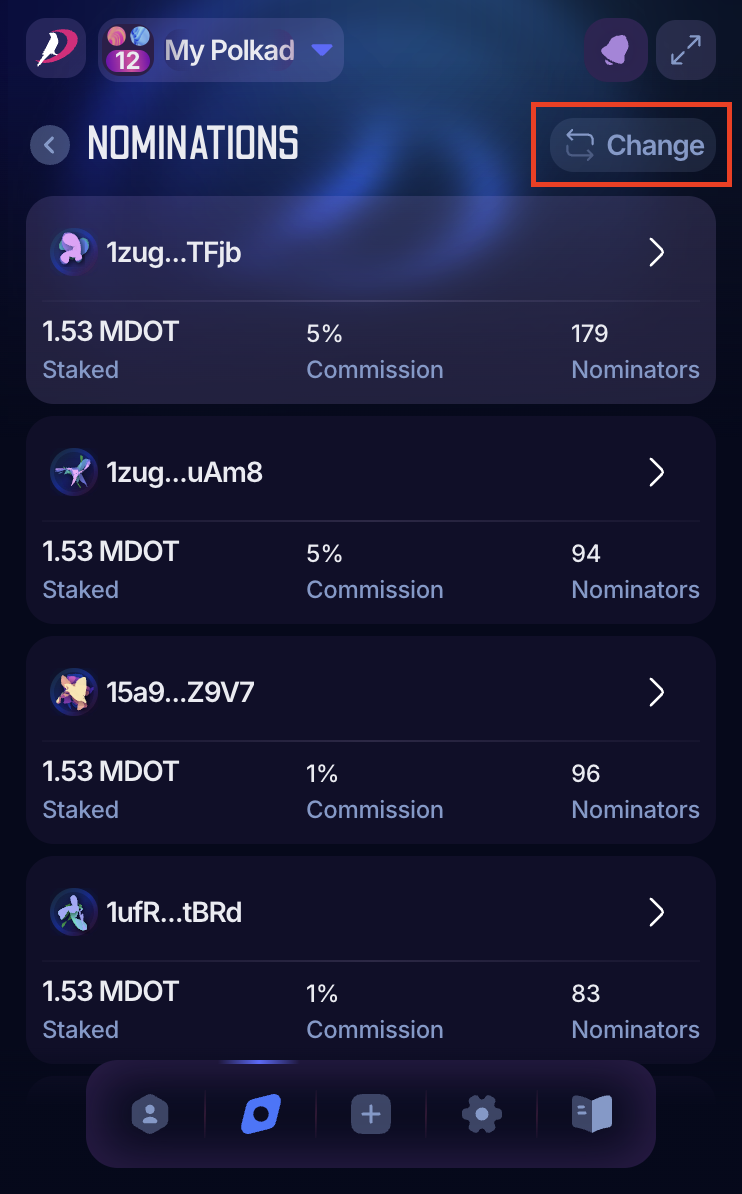
5. You'll see a list of validators you currently nominate. Click "Change" to change your nominations:
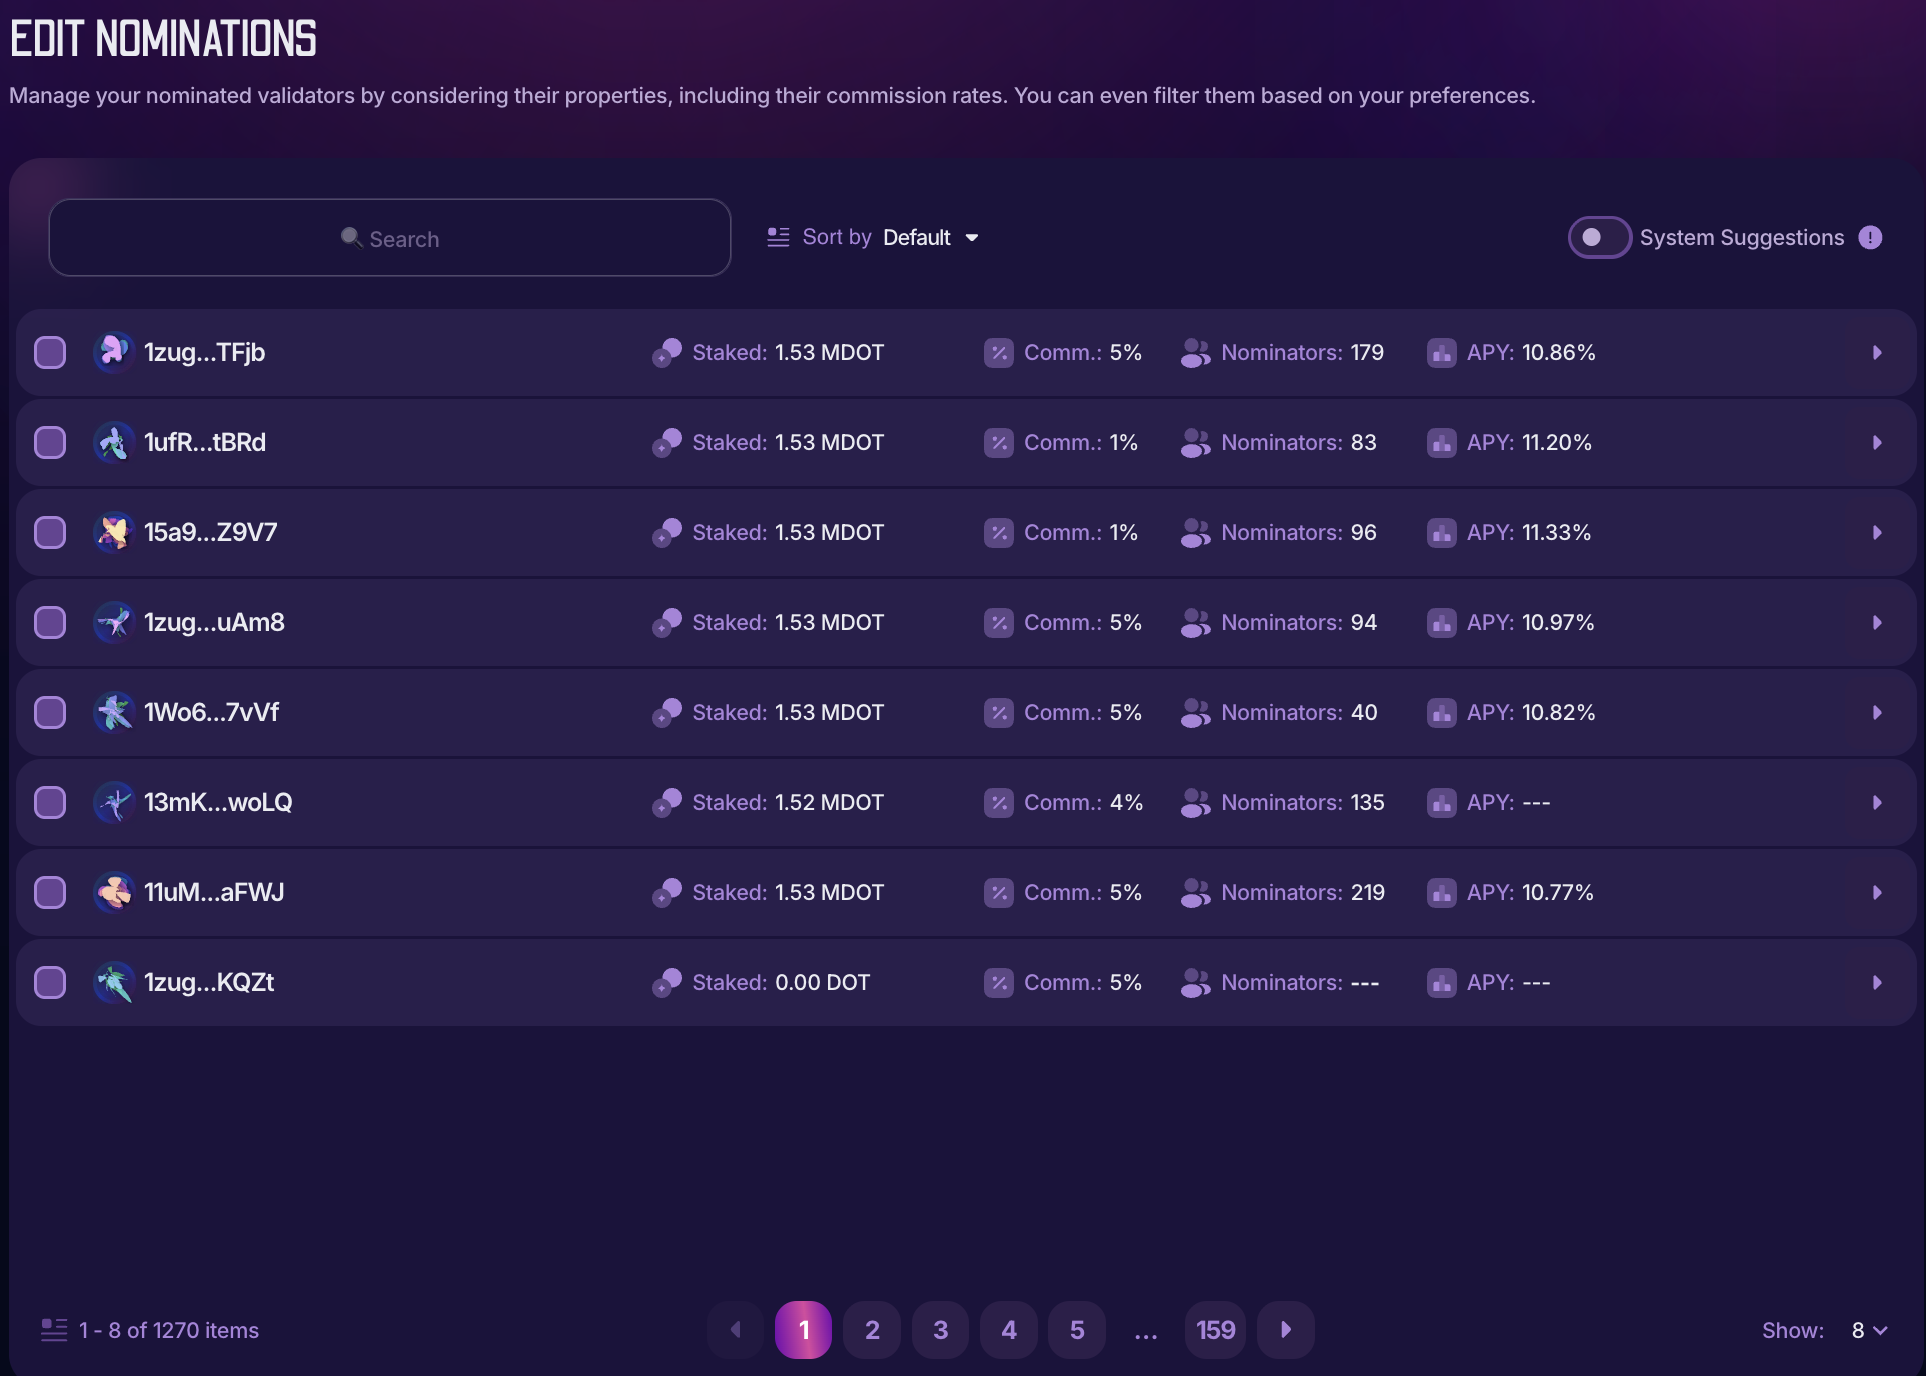
6. The extension will open a new browser tab, where you'll be able to review all the validators. Nominate up to 16 validators. If you don't know what validators to choose, check this article. You can also let PolkaGate choose your validators for you by marking "System Suggestions," which will select trusted, high-return, low-commission validators according to PolkaGate:
7. Click "Next". Review the details and sign the transaction to change your nominations. Your new nominations will be applied in the next era.
How to change your staking rewards destination
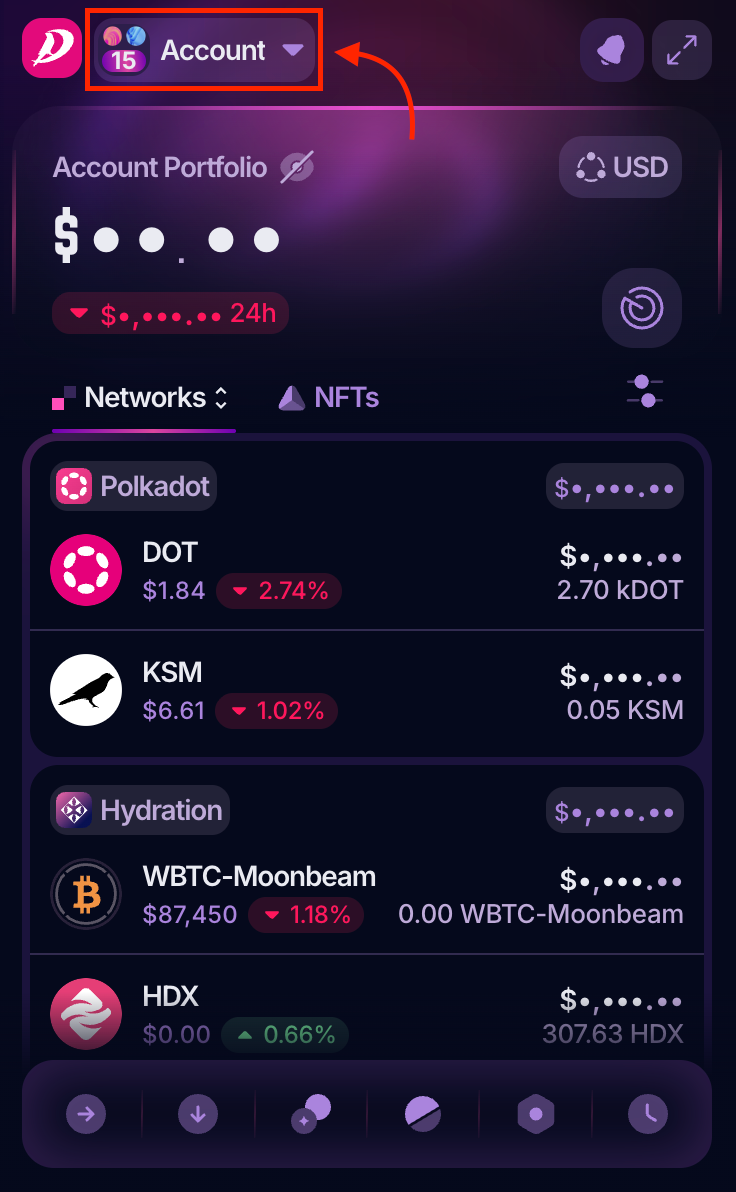
1. Open your PolkaGate extension and in the drop-down menu, select the account on which you want to change your staking reward destination:
2. Once you've selected the account, click on the "Staking" button:
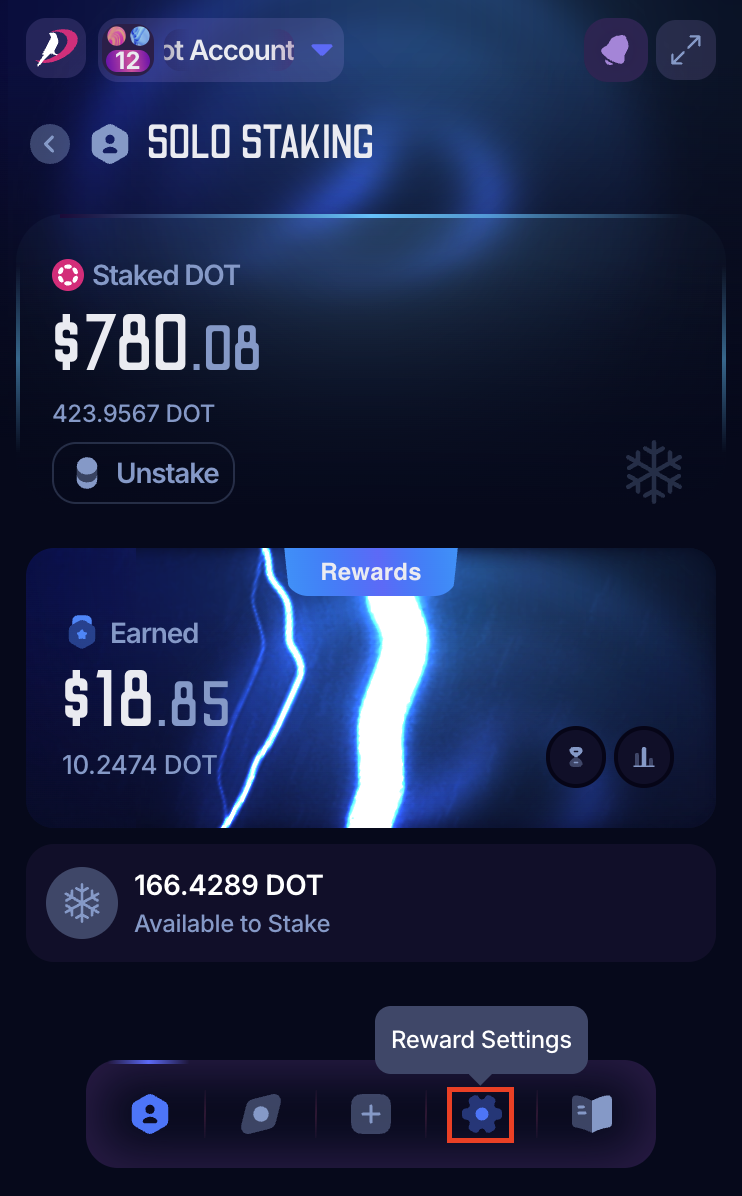
3. Now, you'll see your staking position for this account. Click on it to view additional options:

4. Click on the "Reward Settings" icon:
5. You can choose between adding your staking rewards to your stake or receiving them as a transferable balance. If you choose the latter, you can paste any account address here or choose one of your accounts in PolkaGate:
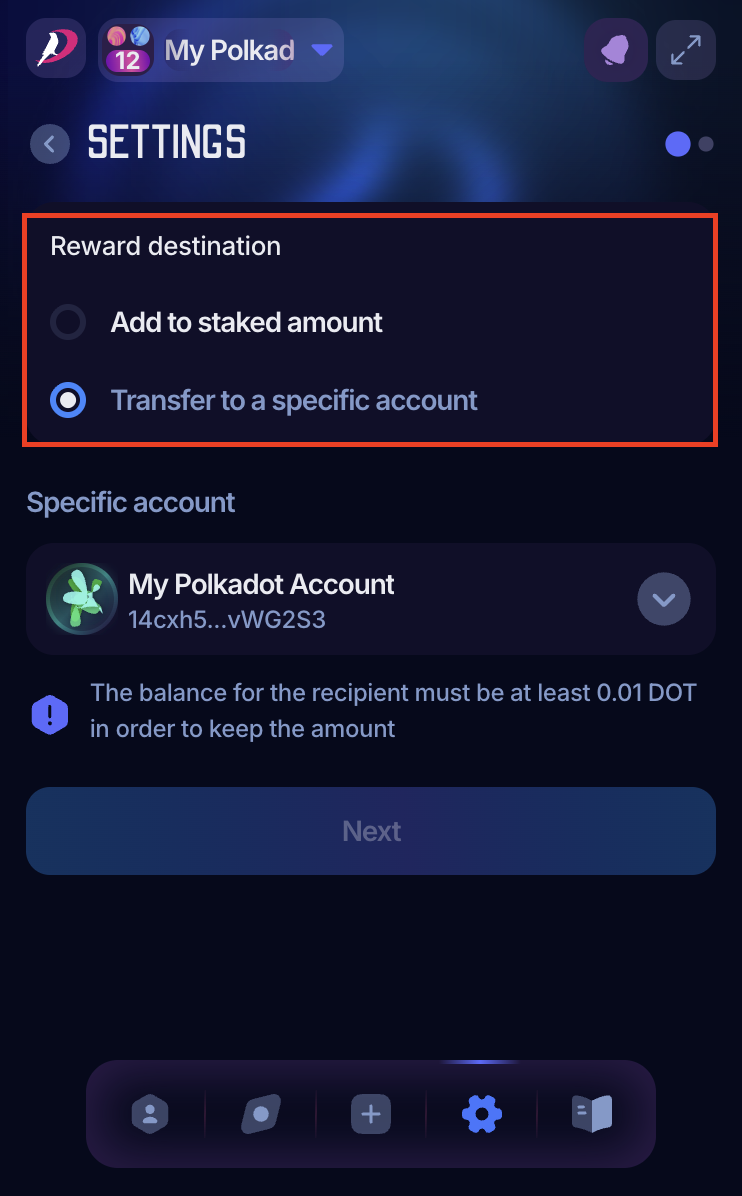
6. Click "Next". Review the details and sign the transaction to change your reward destination.
How to unbond your DOT
1. Open your PolkaGate extension and in the drop-down menu, select the account on which you want to unbond your tokens:
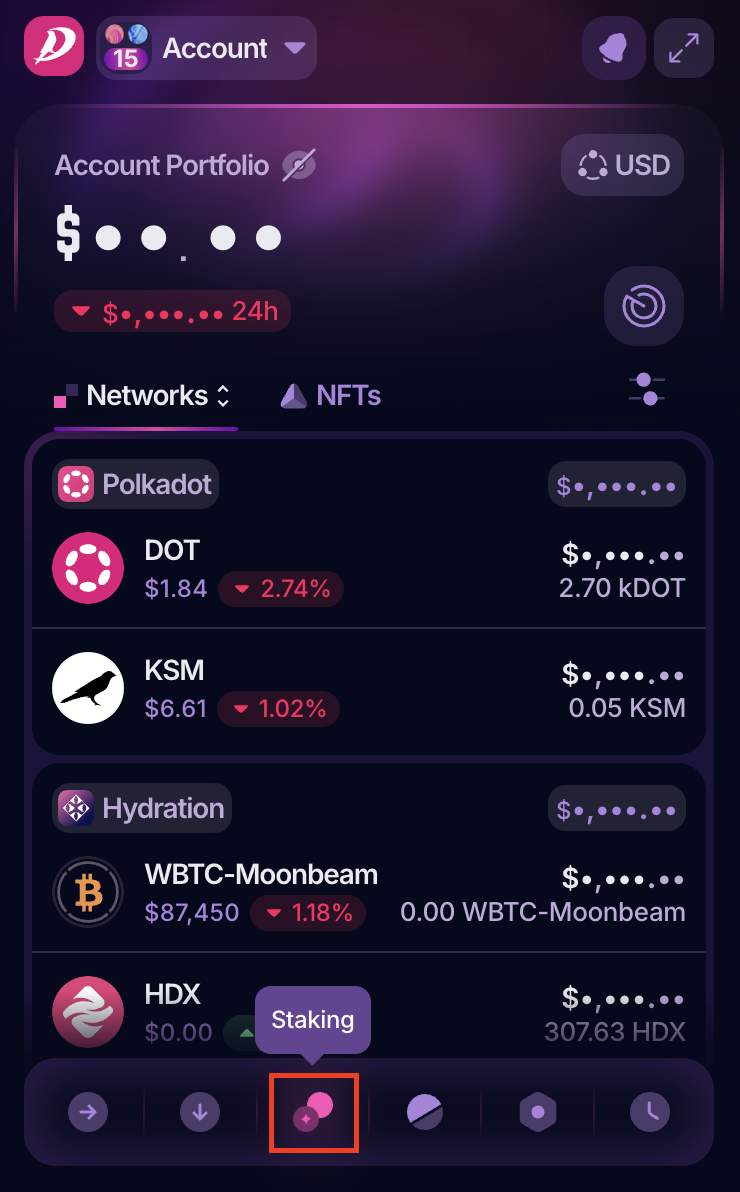
2. Once you've selected the account, click on the "Staking" button:

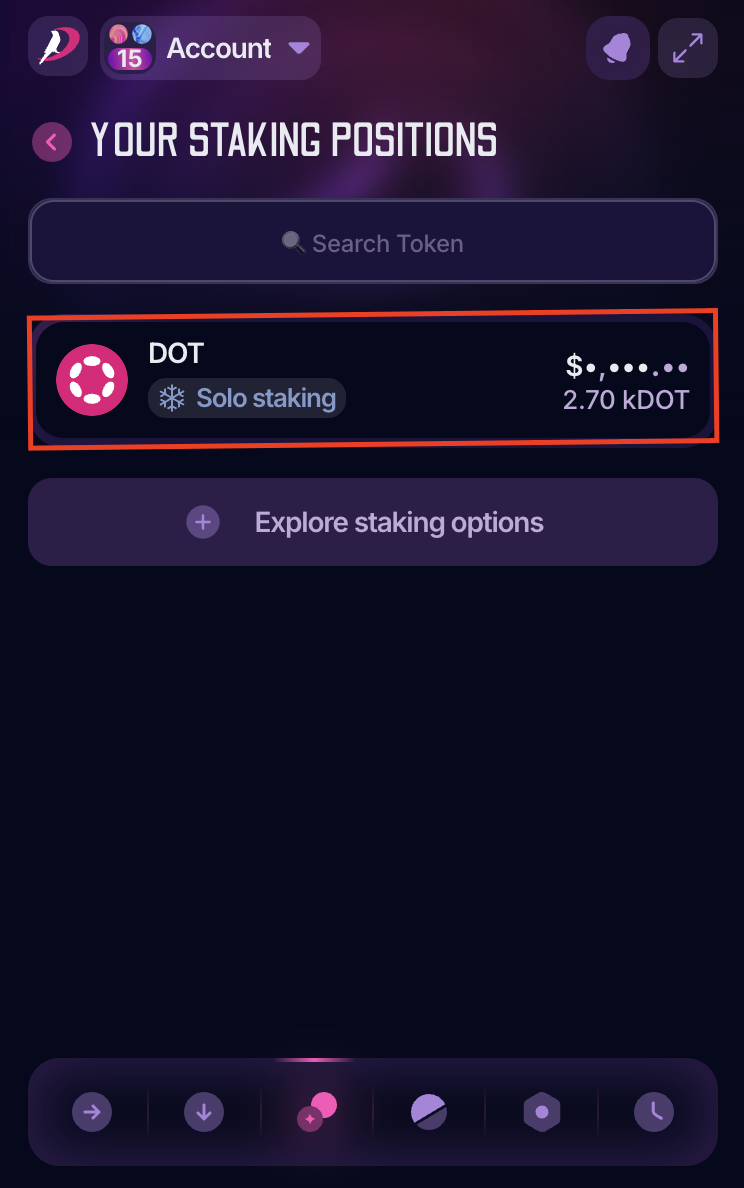
3. Now, you'll see your staking position for this account. Click on it to view additional options:

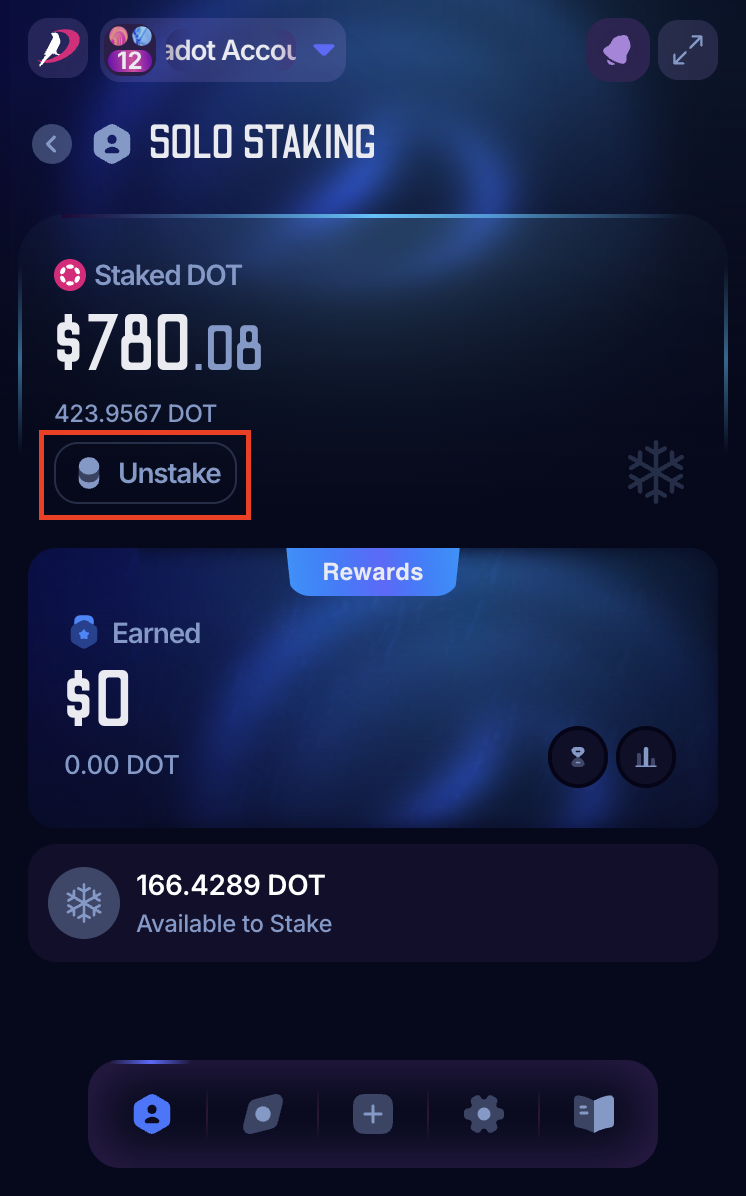
4. Under your staking details, click "Unstake":
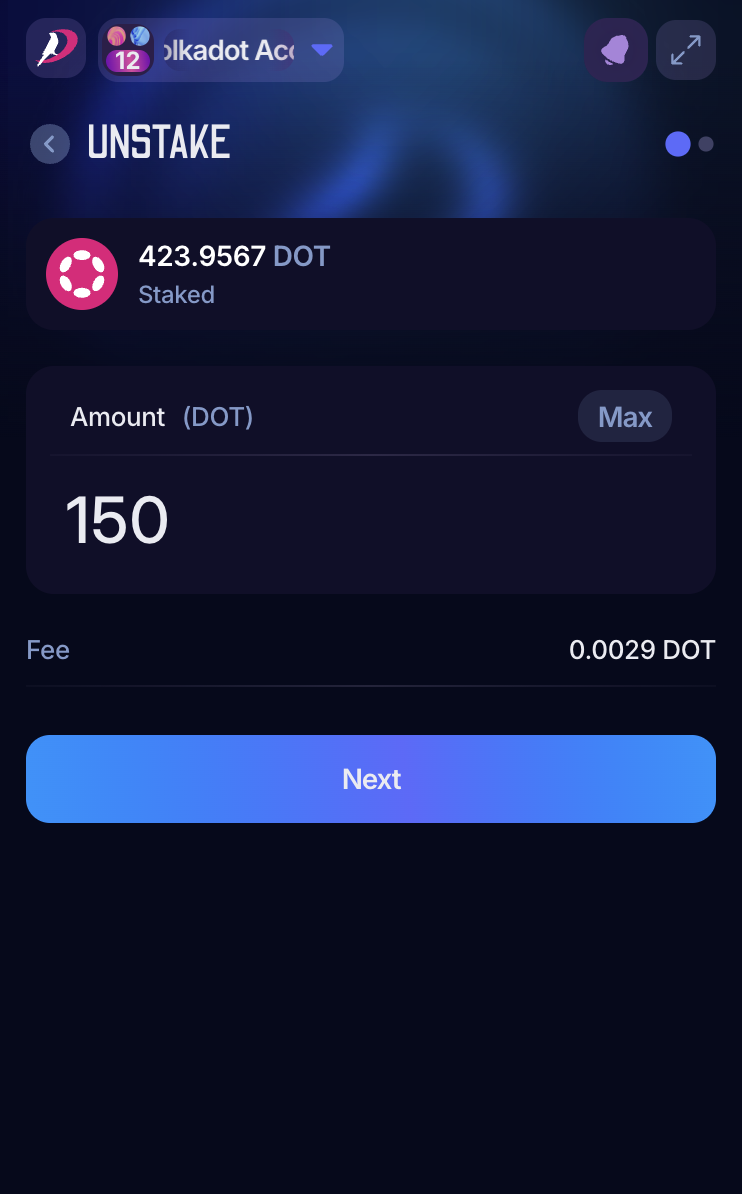
5. Enter the amount you want to unbond. You can either unbond all your stake or part of it. If you want to unstake only some of your funds, make sure that you leave more than the dynamic minimum needed to earn rewards:
6. Click "Next" and review and sign the transaction. This step will start the unbonding period of 28 eras (28 days on Polkadot and 7 days on Kusama).
7. Review and sign the transaction to unlock your tokens.
How to rebond your DOT
During the unbonding period, you can change your mind and rebond your unbonding tokens.
1. Open your PolkaGate extension and in the drop-down menu, select the account on which you want to stake your tokens:

2. Once you've selected the account, click on the "Staking" button:
3. Now, you'll see your staking position for this account. Click on it to view additional options:
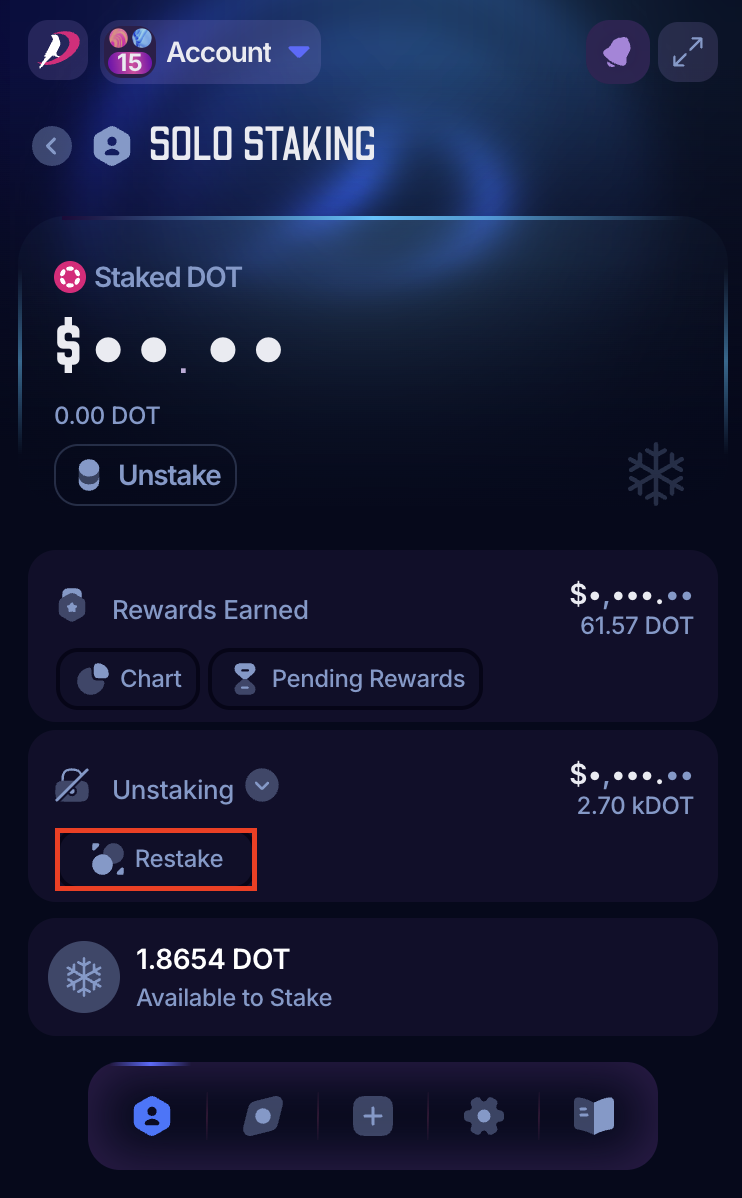
4. Under your staking details, click "Restake":
5. Enter the amount you want to rebond. You can rebond all of your unbonding funds or only some of them:
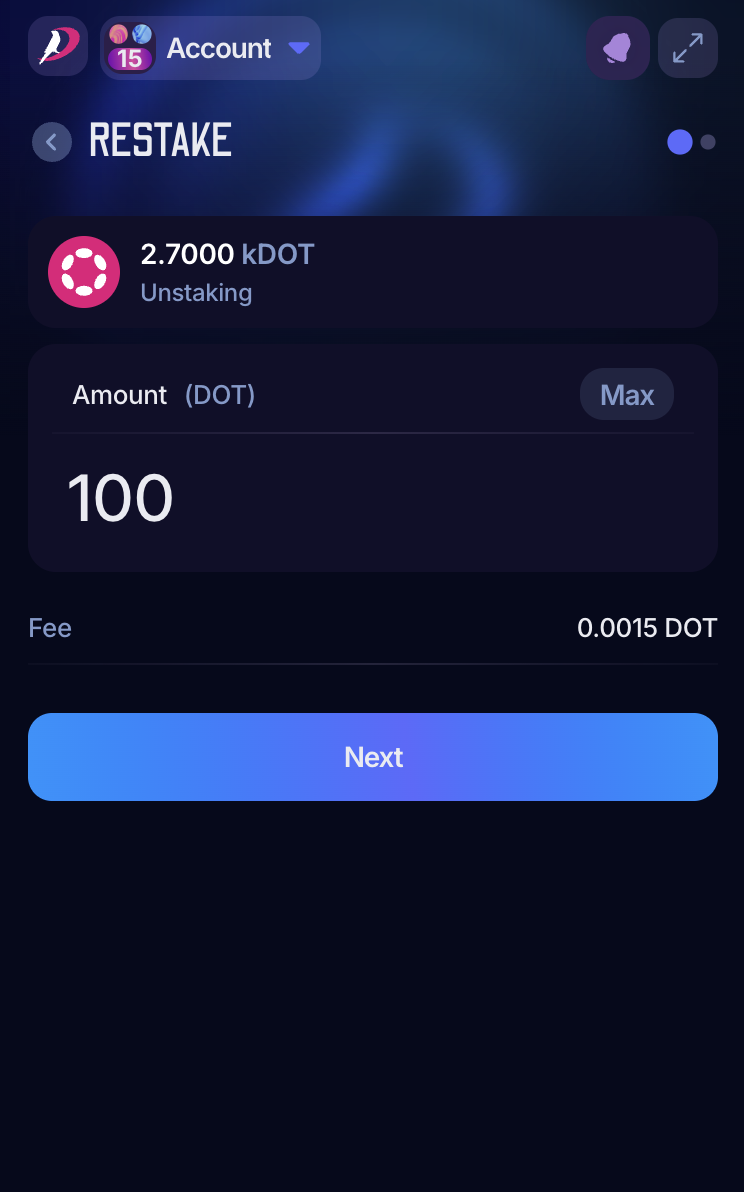
6. Click "Next", and review and sign the transaction to add these funds back to your stake.
How to claim staking rewards manually
Your staking rewards are calculated after each era, and anyone can start a payout. Usually, validators do it for all their nominators as part of their services within a day or two. However, you can do it yourself (and pay a transaction fee for it) if you are in a hurry or your rewards will expire soon.
1. Open your PolkaGate extension and in the drop-down menu, select the account on which you want to claim your staking rewards:
2. Once you've selected the account, click on the "Staking" button:
3. Now, you'll see your staking position for this account. Click on it to view additional options:
4. On the rewards section, click on the "Pending Rewards" icon:
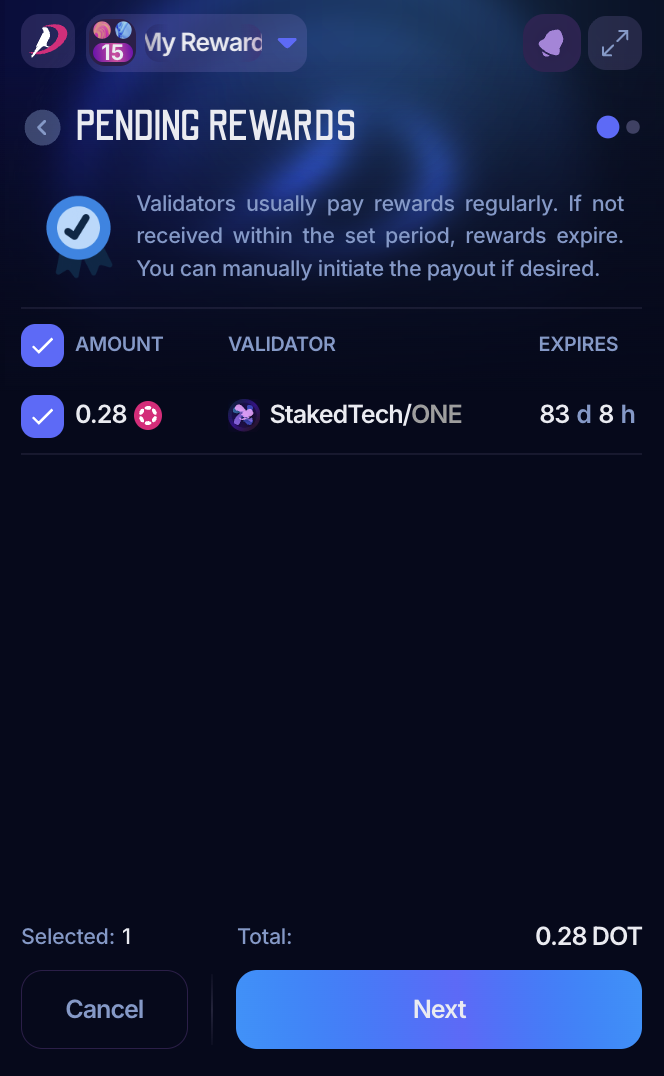
5. If you have pending rewards, you'll find them in the "Pending Rewards" list. Select the reward you want to claim, click "Next," and review and approve the transaction: